Welcome to our delightful (and a little silly) guide on creating the perfect raspberry jam recipe! Making your own jam is not only a fun way to preserve the vibrant flavors of summer but also a quirky craft that fills your home with irresistible aromas and giggles. Whether you’re a beginner or a seasoned kitchen pro, this guide will walk you through every step to produce a spread that’s as healthy as it is hilariously delicious. 🍓😂✨
- The History of Raspberry Jam
- Nutritional Benefits and Health Perks
- Essential Ingredients for Perfection
- Required Tools and Equipment
- Sourcing the Best Ingredients
- Prepping Your Raspberries
- Understanding Jam Consistency
- Step-by-Step Preparation Process
- Measurement & Conversion Table
- Flavor Enhancements and Variations
- Troubleshooting Common Issues
- Storage and Preservation Techniques
- Serving and Usage Suggestions
- Frequently Asked Questions (FAQs)
- Expert Tips and Tricks
- Callouts and Quick Reminders
- Conclusion and Call-to-Action
The History of Raspberry Jam
Raspberry jam has been a beloved preserve for centuries. Originally made as a method to capture the fleeting essence of summer (and maybe a few laughs), early jam makers used traditional methods passed down through generations. Over time, modern techniques have evolved, yet the core principle remains the same – celebrating the natural sweetness of fresh raspberries while having a little fun in the kitchen! 😆📜
Nutritional Benefits and Health Perks
Not only does raspberry jam taste amazing, but it also packs a punch of antioxidants, vitamins, and fiber – like a superhero in a jar! By making your own jam, you control the sugar (so no secret candy overload) and get a healthier treat that’s as smart as it is scrumptious. 💪🍇😋
Essential Ingredients for Perfection
Here are the must-have ingredients for our ultimate raspberry jam:
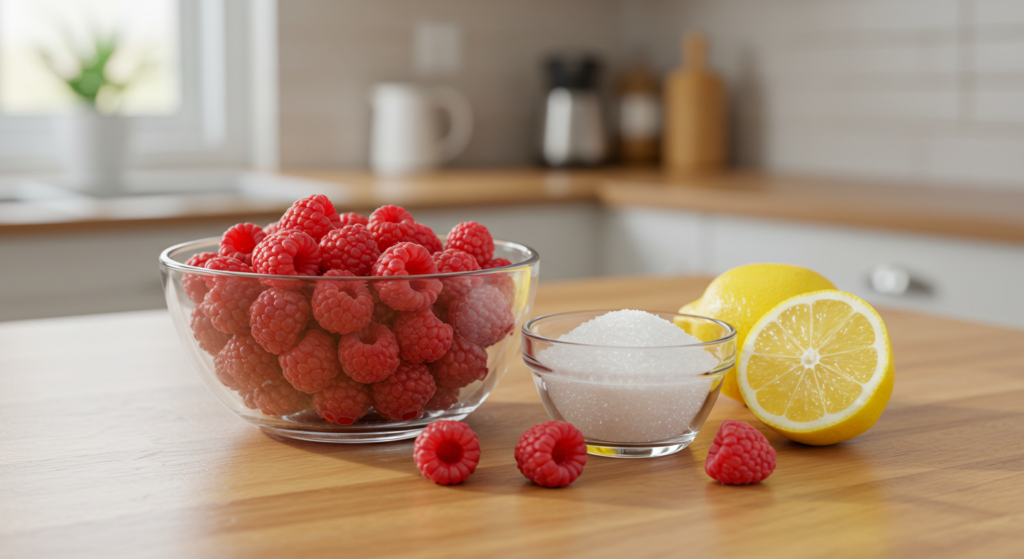
- Fresh Raspberries: Aim for ripe, organic berries – the stars of our show! 🌟
- Cane Sugar: Use high-quality sugar or your favorite natural sweetener (no sneaky substitutes here!). 🍚😉
- Lemon Juice: Acts as a natural pectin to help the jam set, plus it adds a zesty zing! 🍋😜
- Water: Just a splash to help the ingredients mix together in harmony. 💧😁
Required Tools and Equipment
To ensure a smooth (and fun) jam-making process, gather the following:
- A heavy-bottomed saucepan (no flimsy pans allowed!) 🥘😆
- A trusty wooden spoon or spatula for gentle stirring – like tickling the berries! 🥄😂
- Measuring cups and spoons for precise (and playful) measurements 📏😜
- Sterilized glass jars and lids – because safety first, fun always! 🏺😉
- A candy thermometer (optional) to check that perfect moment of jam magic 🌡️😋
Sourcing the Best Ingredients
Quality ingredients are the secret to our jolly jam. Look for raspberries that are in season and preferably organic – they’re like the VIPs of the fruit world! Your local farmers’ market is a treasure trove of fresh produce, and many stores now offer high-quality cane sugar and natural sweeteners that make a big difference in flavor. 🛒🍇😄
Prepping Your Raspberries
Start by gently washing your raspberries under cool water – think of it as a spa day for your fruit! Place them in a colander and let them drain thoroughly. Remove any spoiled or overly soft berries (we only want the best, right? 😜). Once cleaned, allow the raspberries to air-dry for a few minutes before moving to the next step. 🚿😂
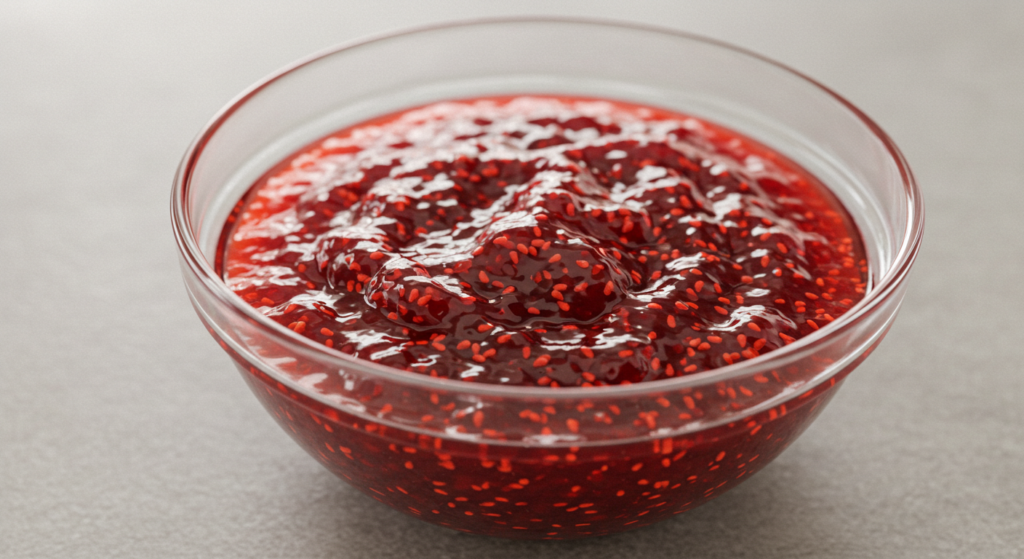
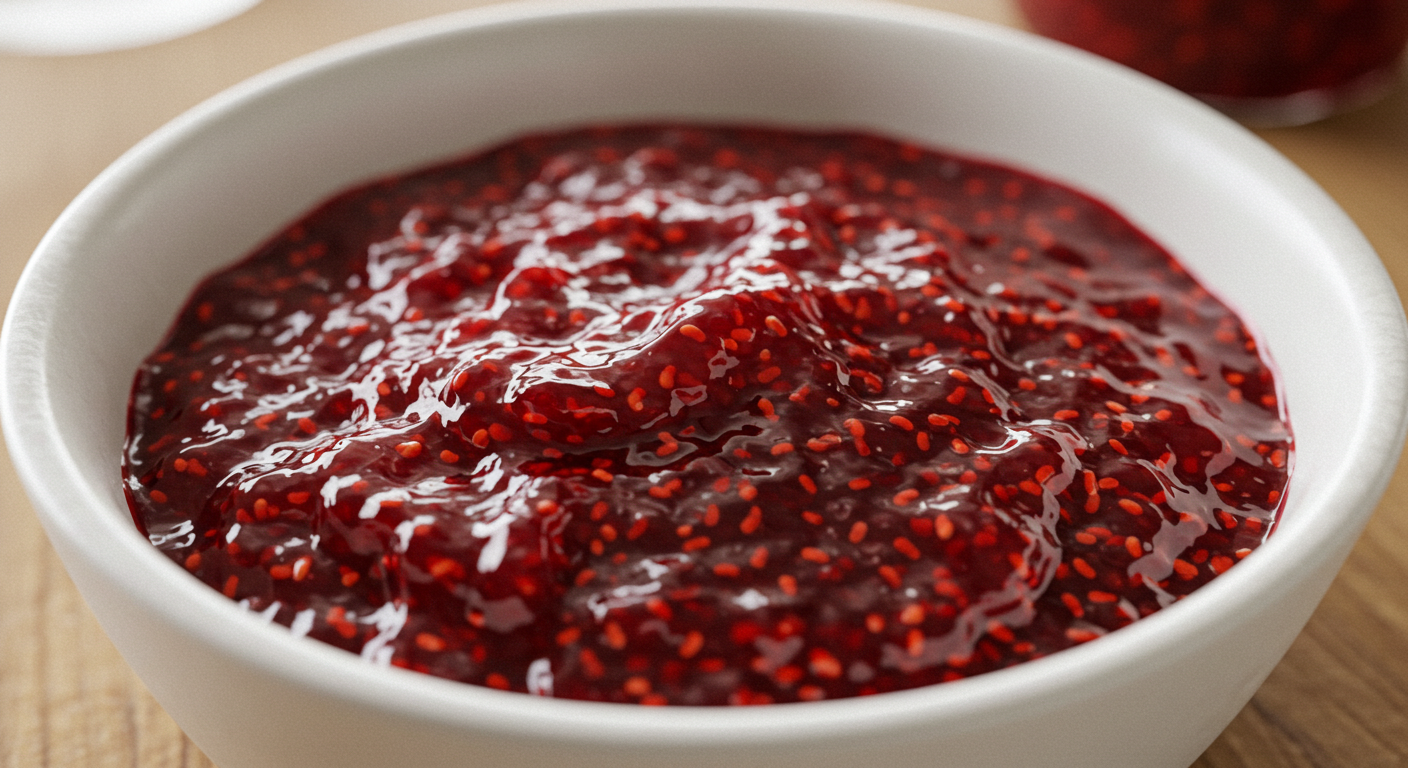
Understanding Jam Consistency
One of the most crucial (and fun) aspects of a successful jam is achieving the right consistency. Your jam should be thick enough to spread easily but still burst with fruity goodness. The natural pectin in lemon juice works its magic, so don’t skip this step! Remember, patience during the simmering process is key – good things (and giggles) take time! ⏰😆
Step-by-Step Preparation Process
Step 1: Combining Fresh Raspberries & Sugar
In a large, heavy-bottomed saucepan, gently mix your prepared raspberries with the cane sugar. Allow the mixture to sit for 10-15 minutes – this helps the berries release their natural juices. Consider it the “berry mingling” phase, where flavors get to know each other! 🍓🤝😂
Step 2: Adding Lemon Juice and Water
Next, stir in the lemon juice and a splash of water. The acid from the lemon not only enhances the flavor but also aids in achieving that perfect gel-like consistency. Continue stirring to combine all ingredients evenly – it’s like giving your jam a little dance! 💃🍋😄
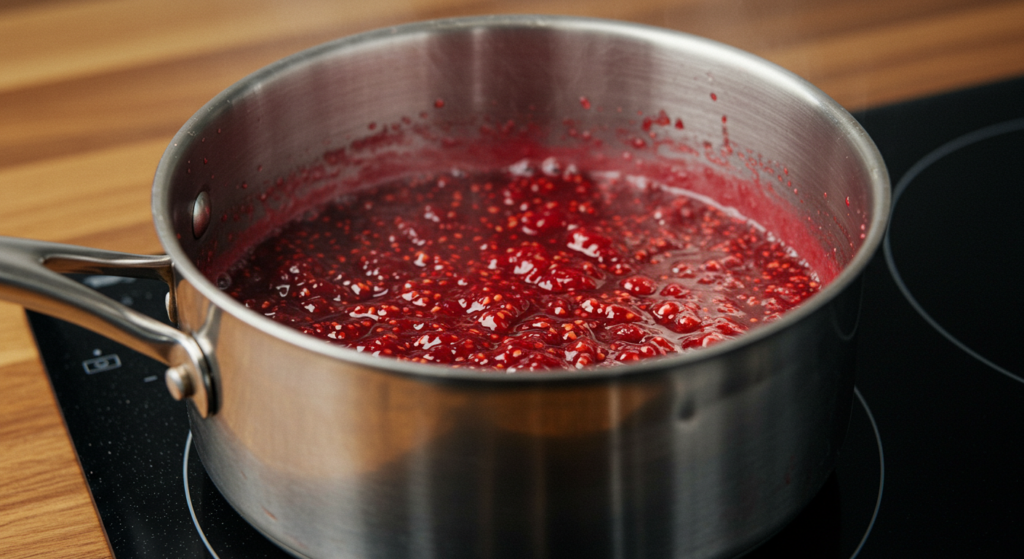
Step 3: Simmering to Perfection
Bring the mixture to a gentle boil over medium heat. Once boiling, reduce the heat and let it simmer. Stir occasionally to prevent the jam from sticking to the bottom of the pan – think of it as a slow, playful waltz with your ingredients! As the jam simmers, you’ll notice it thickening and the colors intensifying. This process typically takes about 20-30 minutes, so enjoy a little kitchen dance party while you wait! 🕺🍓😂
Measurement & Conversion Table
| Ingredient | Measurement |
|---|---|
| Fresh Raspberries | 2 cups |
| Cane Sugar | 1 1/2 cups |
| Lemon Juice | 2 tablespoons |
| Water | 1/4 cup |
Flavor Enhancements and Variations
While our classic recipe is a winner on its own, here are a few creative twists to make your jam even more special (and funny!):
- Vanilla Infusion: Add a splash of vanilla extract for a warm, aromatic note – it’s like a hug in a jar! 🤗✨
- Cinnamon Spice: A pinch of cinnamon can add a delightful complexity – like a secret handshake of flavors! 🤫😆
- Mixed Berry Twist: Combine raspberries with a handful of blueberries or blackberries for a party in your jar! 🎉🍇😜
Troubleshooting Common Issues
Even the best recipes can sometimes have a hiccup. Here are some humorous troubleshooting tips:
- Too Runny? If your jam isn’t setting, try simmering it a bit longer or add a tiny pinch of pectin – think of it as giving your jam a little extra workout! 🏋️♀️😂
- Overcooked Jam? Watch the simmering process carefully. Overcooking can cause the jam to darken or lose its fresh flavor – nobody likes a grumpy jam! 😡🍓😆
- Crystallization: Stir gently and avoid high heat spikes to prevent sugar crystals from forming – no crunchy surprises, please! 🙅♂️🍚🤣
Storage and Preservation Techniques
Once your jam is perfectly set, it’s time to store it safely:
- Pour the hot jam into sterilized jars, leaving about 1/4 inch of headspace – think of it as giving your jam some breathing room! 🏺😄
- Wipe the rims clean and seal with fresh lids – seal in the fun and flavor! 😜🔒
- Process the jars in a boiling water bath for 10 minutes if you plan to store them long-term – a little hot tub time for your jam! 🚿😂
- Store in a cool, dark place. Once opened, keep refrigerated and consume within a month – the jam’s version of a mini vacation! 🏖️😉
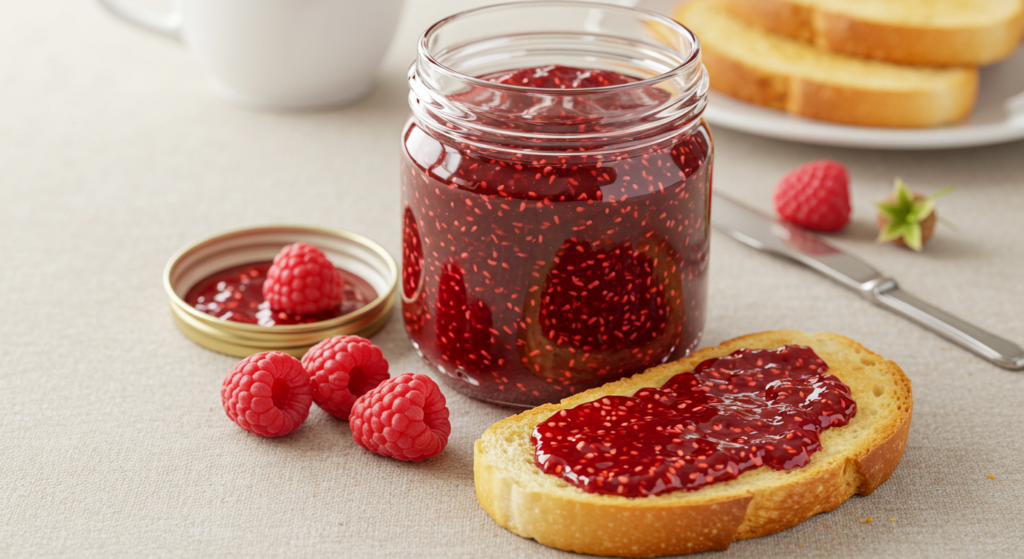
Serving and Usage Suggestions
Your homemade raspberry jam isn’t just for toast – it’s a versatile superstar! Here are some creative (and funny) serving ideas:
- Breakfast Boost: Spread it on warm toast, bagels, or English muffins – start your day with a burst of laughter and flavor! 🍞😂
- Dessert Delight: Drizzle over vanilla ice cream or swirl into yogurt – a dessert that’s as playful as it is delicious! 🍨😆
- Baking Twist: Use it as a filling in cakes, cookies, or pastries – your secret ingredient for a fun twist in every bite! 🍰😉
- Savory Pairing: A spoonful can complement cheeses on a charcuterie board – who knew jam could be such a social butterfly? 🧀😜
Frequently Asked Questions (FAQs)
Q: How long does homemade raspberry jam last?
A: When properly stored in sterilized jars, unopened jam can last up to a year. Once opened, it should be refrigerated and consumed within a month. ⏳😋
Q: Can I use alternative sweeteners?
A: Absolutely! You can experiment with honey (if not vegan), agave syrup, or even stevia. Just adjust the quantities accordingly – let your taste buds dance! 💃🍯🤣
Q: What’s the best method to test if the jam is set?
A: Place a small spoonful of jam on a cold plate. If it firms up within a minute, your jam is ready to rock! 🤘😆
Expert Tips and Tricks
Tip: Always stir gently and consistently during simmering. This prevents scorching and helps maintain the fruity integrity of your jam. A little care goes a long way – just like your favorite funny meme! 😂👍
“A gentle stir and a watchful eye are the secret ingredients to a perfect jam every time!” 😊🍓
Callouts and Quick Reminders
Remember: Sterilizing your jars is key to safe preservation, and tasting your jam as it simmers lets you adjust the flavors (and add extra giggles) as needed! 😜👌
Conclusion and Call-to-Action
Creating your own raspberry jam recipe is a rewarding journey that not only captures the essence of summer but also brings a playful spirit into your kitchen. With a few simple ingredients and plenty of love (and laughter), you can transform fresh raspberries into a delightful treat that’s perfect for any occasion. 🤗🍓😂
We hope you enjoy experimenting with this recipe and making it your own. Whether you stick to the classic method or add your creative twist, the joy of homemade jam is unbeatable – and a little bit hilarious too!
Be sure to check out our Moroccan Mint Tea on our website. Give it a try, and let the jam-filled fun continue! 😋🎉
Happy jam-making and enjoy every sweet, funny spoonful! 🍓💖🤣